[Reader Disclosure]Our content is reader-supported. This means we may earn a commission if you click on some of our links.
Wireframing is one of the essential skills for Product Managers and UX Designers. Wireframing or the art of creating wireframes is something anyone who is remotely related to user interfaces needs to know, understand and preferably create.
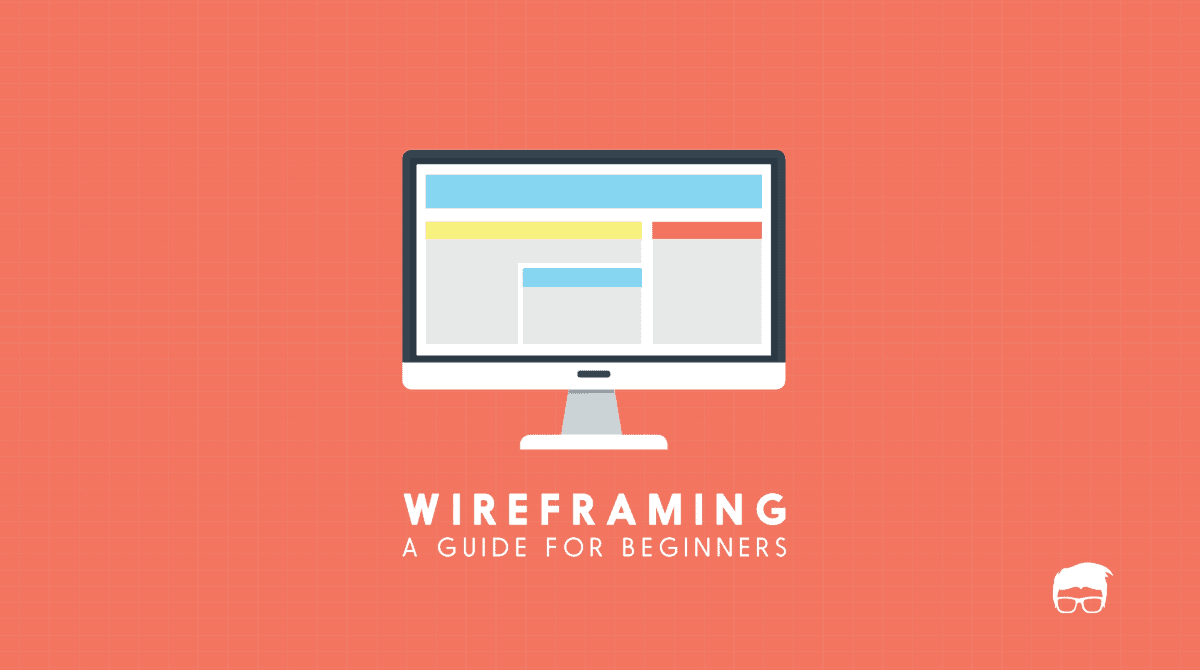
Technically, wireframes are low fidelity representations of a computer or mobile interface. These are mainly used to display functionality, features and user-flow in an app or website. Till higher fidelity renditions are designed, wireframes are used to give a rough idea of the interface.
Benefits of Wireframes
A wireframe is the first step to a great app or website. It is a communication tool. For Product Managers, when so many stakeholders are involved in the process, it becomes even more important.
Wireframes let you communicate and collaborate with different teams. It is a great tool to improve your design by taking feedback on what works and what doesn’t.
Wireframes let you establish the usability of every feature before they even start getting developed. Every button, every dropdown menu, every image has to mean something and a wireframe is great for test runs like these.
Wireframes save a lot of time, effort and money in the designing phase. The logical flow of screens can be tested before anything significant is made. Wireframes are great for quick validation of ideas.
How is a Wireframe different from a Prototype?
Wireframes let you determine how a user interacts with the screen interface. It allows you to plan the layout ad interaction design of an interface. Wireframes are great for communication and ideation. But a wireframe is not the same as a prototype. Prototypes are meant for usability testing and come in the design stage after wireframes. Unlike wireframes, prototypes feel and look very similar to the actual product. They are far more polished and require much more time and money to develop.
Phases of Wireframing
Wireframing lets you tinker with the interface and bring out its best version. The many iterations help you refine your design. That is why we have divided the process of wireframing into 2 phases – ideation and validation.
Ideation
In the ideation phase, you bring up multiple ideas and weigh the pros and cons of each. The more options you have, the better. The focus should be to create as many versions as possible without deep-diving into any one of them too much. Refining of details should be done later.
Validation
In this phase, you refine your design to the point where the next step is to just check its success. Here other stakeholders have to pitch in and help you come up with better designs. In this phase, quality matters more than quantity. Focus on the best designs and see how they can be improved further with the end-user in mind.
Wireframing Tools
Wireframing is a skill that can be learned and perfected over time. Wireframes can be created with a simple pen and paper. But there are tons of software available today to make this task as intuitive and interactive as possible.
So how do you choose the right wireframing tool?
Well, first find out if the tool fits your workflow, how frequently are the upgrades released and how is its support. Other things to check are the formats the tool supports, the upfront and hidden costs attached to it and what others, especially the experts, think of it.
Some of the top wireframing tools in use today are:
Balsamiq, one of the most popular and classic wireframing tools
Axure, for people who are looking for something more detailed and extensive
Sketch, great for mobile and designing for different resolutions
InVision, lets you incorporate gestures and interactions
How to Wireframe?
Making wireframes in this age with the latest tools is as simple as drag and drop.
A typical wireframe has four key elements:
Main page elements such as header, footer, content etc. and their location
Grouping of elements, such as side bars and navigation bars
Labelling, page title, navigation links
Place-holders, content text and images
Developing a wireframe can be divided into certain steps:
Sketch on paper before putting your ideas on the software. You will start getting a hang of how things should look and feel.
Before you start building the layout, you need a grid system in place for laying out different elements. Responsify is a great way to do that. A grid template looks something like this:
Keeping the hierarchy of information in mind, start putting the various layout elements as boxes on the grid. There is a way you would want the information on your website or app to be presented to the customer. Design your layout accordingly.
After the basic elements are done, start putting bits and pieces of your content to see how it would fit.
Ensure that the UI elements are consistent. The buttons, tabs and labels on each screen should have a consistent theme running through them. If you have curved edges on buttons on one screen, you cannot have sharp edges on another.
In the end, you should be able to get a low-fidelity wireframe like this. Play with it and try some iterations to get what you want.
You can create higher fidelity versions of these or even make visuals and interactive prototypes from them. That said, these wireframes serve the basic purpose for which they are developed in the first place, just fine. The development and design team know what you have in mind and they can further refine it based on customer feedback or insights before the product is actually developed.
As a skill, every Product Manager should be comfortable with wireframing. The more you experiment with layouts and tools, the better you will get at it. Once you find something intuitive enough, it will become a cakewalk.
Go On, Tell Us What You Think!
Did we miss something? Come on! Tell us what you think about our article on What is Wireframing? A guide for beginners in the comments section.
Product Guy. Introverted Marketer. Engineer by education. Movie and TV Geek by nature. Can be seen reading comics and non-fiction books when not binging on movies and Netflix shows. Pop-culture junkie. Out and out foodie. Wee bit self-obsessed."
Each week I share research backed AI oriented content in my newsletter.
There are AI ideas, AI trends, tutorials, and guides.
24k entrepreneurs read it. I'd love you to join.


![AI Idea Refiner [Unlimited & No Login]](https://spcdn.shortpixel.ai/spio/ret_img,q_cdnize,to_webp,s_webp/www.feedough.com/wp-content/plugins/contextual-related-posts/default.png "AI Idea Refiner [Unlimited & No Login]")